Having recently moved over to using ConvertKit for one of my mailing lists, I discovered this fantastic tool for turbo charging the ConvertKit experience.
Find out more about ConvertPro
Not only that, but the folks behind ConvertPlus (Brainstorm Force) have since released an even more flexible pop up plugin called ConvertPRO. All links to ConvertPlug in this article have been upgraded to ConvertPro, as it is the superior version of the plugin.
ConvertPRO – find out more
Setting everything up in ConvertKit was really simple, and because it handles forms and popups as well as landing pages, this meant I could finally ditch my expensive LeadPages account and save on my monthly expenses. Yay!
Click to visit the ConvertKit site to find out more.
If possible, I was looking to ditch SumoMe too, which I was using for popups to capture email addresses. Using the free version, the options are very limited. For example, I couldn’t have different popups on different pages. So I was looking for something to let me do that, and as it’s generally better to use fewer plugins, if I could also get rid of SumoMe, then that’s an added bonus.
ConvertKit isn’t perfect, quite.
As you might expect, once you start digging in to a new system you’re bound to discover little things that could be improved. If only they let you do it this way, or that way, it would be so much better.
After replacing some of my main Leadboxes with ConvertKit forms, it worked well enough, but I found the styling options on the popup form a bit limiting, and clunky to create.
Here’s one of my original LeadBoxes, created in LeadPages (click to enlarge)

The editor in ConvertKit isn’t exactly “what you see is what you get”, and you’ll end up tweaking, saving, previewing rather a lot, to get a handle on what it’s going to look like.

It’s worth noting that in the above CK example, I chose not to use the Title text, as I had included the title within the image I made (using the brilliant [bl id=”1888″]Stencil[/bl]).
I also chose to add CSS code to hide the “first name” field, and to hide the “Powered by ConvertKit” link.
To do these two things, just add this CSS code to the Style section
.ck_first_name_field_group {display:none;}

.ck_powered_by { display: none !important; }
But the basic ConvertKit Forms are quite limited in terms of the design, and flexibility around getting them to pop up on certain posts or pages, but not others. I think they are designed mostly for embedding on specific posts, rather than as modal pop ups.
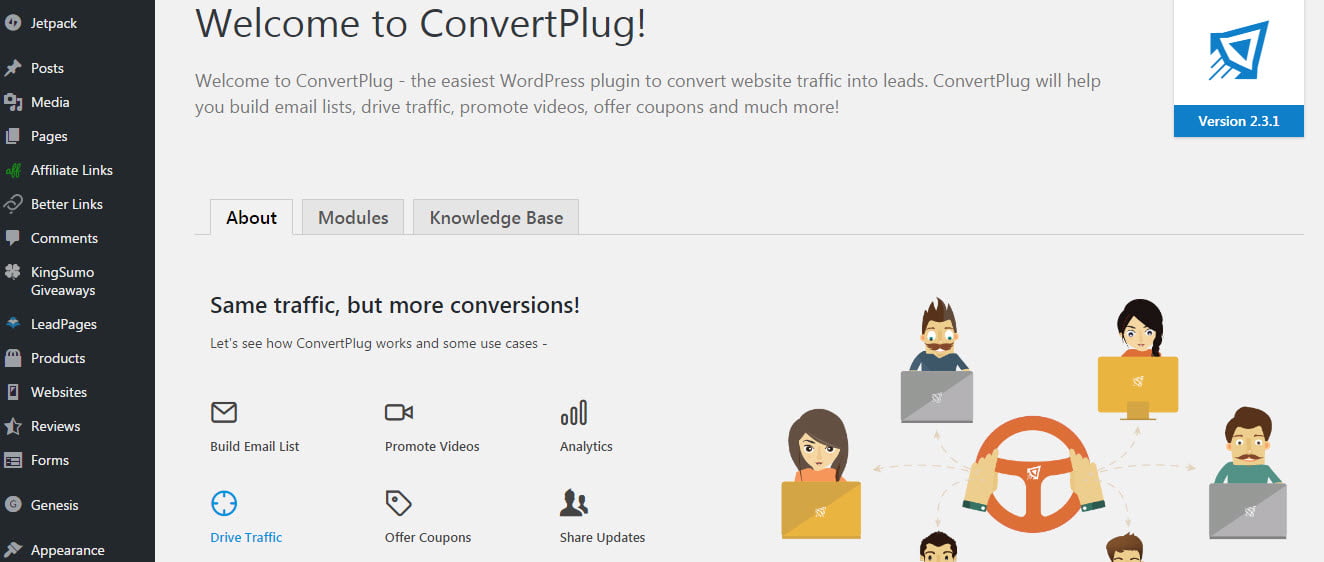
ConvertPlug (now ConvertPlus) is the best pop up plugin for ConvertKit
For certain modal forms (popups), I wanted the ability to show them on every post, or even more usefully, have different ones appear for different categories.
That would be very useful, if you think about the advantages:
- You’re able to segment people by the form (or category) that prompted them to opt in, so you automatically know more about their interests.
- Because your lead magnets are more specific, and directly relevant to each category, you’ll get a higher overall opt in rate than if you just use one generic opt in form across the whole site. Probably.
Sadly, this isn’t possible within ConvertKit. So, how to achieve this ninja-like jedi-ness?
I asked in the ConvertKit Facebook group, and had several friendly responses suggesting various options that could handle the task, but many involved monthly fees. I wanted to minimise my monthly fees, not add to them!
ConvertPlug and ConvertKit
It must be fate that these two are named similarly.
[bl id=”4153″]ConvertPro[/bl] is the perfect complement to ConvertKit, and every CK user should be using it.
After installing ConvertPlug and registering the plugin, you’ll want to connect it to your ConvertKit account. This is a simple process which only involves copying and pasting your ConvertKit API key. You’ll then be able to connect individual ConvertPlug modals to specific ConvertKit forms.
This has so many advantages:
- You won’t have to grapple with the clunky CK form editor again.
- You can design better looking forms and modals, with far greater flexibility over how the end result will look.
- ConvertPlug has its own stats analysis so you’ll see a true conversion rate with modals. In CK, the stats for modals are poor because it uses the parent page impressions (not triggering the modal) as the denominator.
- ConvertPlug lets you do A/B testing so you can hone and optimise the design and copy of your modal/form to improve conversion rates.
- You have greater control over how and when the modal appears.
- You have fine control over which pages the forms/modals appear on. This is huge.
How to connect a ConvertPlug modal to a ConvertKit Form.
Firstly, create your basic form in CK. You don’t necessarily need to style it, or add any text or images, so just the basic “naked” version will be fine. Save your form with a name that makes sense to you.
In your WordPress site, open up ConvertPlug.
Then select the design you want to play with.

Once the design has imported, the fun really begins.
It’s super simple to edit the text, colours form layout, animations (how it appears and also how it vanishes when closed).
You can also edit the designs to be full screen, to use them as a “Welcome Mat” approach.
Different ways to make ConvertPlug forms appear
Lots of flexibility here! There are various triggers you can apply to affect how and when the popup should appear.
- Timed. After x seconds.
- Timed after period of inactivity.
- Percentage of page scrolled. Eg only appear when the user has scrolled down 75% of the page.
- Exit intent. Popup when the user is about to leave.
- Manual triggers via shortcodes. This is useful when you want to trigger the popup from a banner image, or a button on your page, for example.
Controlling which pages the popups appear on.
Here’s the fine level of control I was really looking for, and for me, this alone is a good enough reason to buy ConvertPlug.
Under the behaviour tab, I can specify where each modal should be active on the site, and where it should not.
Here’s a real world example.
Let’s say your blog covers a few different topics, and you’ve posted dozens of blog posts within various categories. You might also have separate lead magnets that relate to each category/topic.
It’s entirely probable that some of your readers will break more interested in category A, and less interested in Category B.
In ConvertKit, I’ve already created a form for my category A lead magnet, and one for my category B, so that I can gather people onto my list and then send them emails relevant to the topic they were interested in.
Using ConvertPlug, I can create a modal form for the Category A lead magnet, and I’ll link it to the appropriate form in ConvertKit.
I can then choose to only display this modal on posts within Category A, and publish it.
I will then have a specific, relevant offer that will appear to anyone who is reading ANY of my posts on that particular topic, and I didn’t have to edit each and every post!
I can quickly repeat this process to create another category-specific popup, linked to the other relevant ConvertKit form.
Not only is this much quicker to set up than manually editing dozens of pages, it actually leads to more conversions, and better quality leads too, because of the niche topic they signed up for.
It’s a win-win.
It even does A/B testing so you can optimise your design and copy for maximum conversion.
Finally, use the Submissions tab to choose your CK form from the drop down list. This will send the subscriber data to the correct form in ConvertKit.
(When you publish a new modal, do test it!)
The best popup plugin with no monthly fees
I honestly cannot believe that it’s possible to get a plugin of this quality for a one-off price and no ongoing monthly fees.
Not only that, but the one-off price is also very low. It could be priced three times higher, and it would still be a bargain.
What are you waiting for?
Go and get ConvertPro now!
By the way, I needed to use their support service a couple of times, and the response was not only fast and friendly, but extremely efficient. These guys have got their business processes nailed. Jump in before they change their pricing model!
Hey Alan!
I am from team ConvertPlug. Thank you for a wonderful and detailed post!
I am glad you are happy with the plugin and the way it works for you. 🙂
Hi Elvina, thanks for dropping by. It’s a great plugin, with fantastic support too 🙂
Hi Alan,
One question…. I see that you can connect To the ConvertKit API with ConvertPlug plugin… I just want to make sure it supports tagging. So when someone submits the ConvertPlug form in your website…. they can be tagged in ConvertKit. This plugin looks great… thx for sharing!
Tammy
Sydandcoco.com